Home Improvement
Transform Your Kitchen: A Guide to Starting Your Indoor Herb Garden
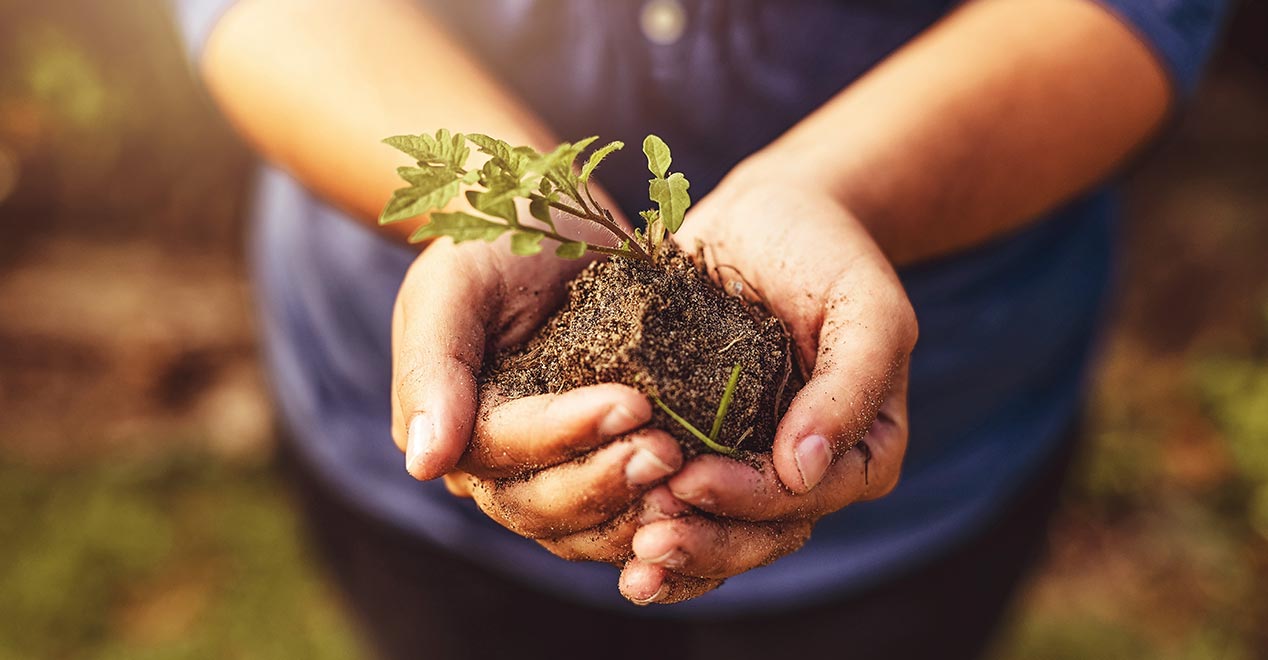
Grow fresh herbs year-round with our easy indoor gardening guide. Start your green thumb journey!
Learn how to set up a backyard compost bin this fall - a sustainable and rewarding project for your garden!
As the leaves start to change color and the temperature drops, fall presents the perfect opportunity to set up a backyard compost bin. Composting is not only an eco-friendly way to reduce waste but also a fantastic way to enrich your garden soil for next year's harvest. Whether you're a seasoned gardener or a complete beginner, this step-by-step guide will help you create a thriving composting system right in your own backyard.
Before we dive into the nitty-gritty of setting up your compost bin, let's talk about why fall is an ideal season for this green project:
Abundance of Yard Waste: During the fall, there's an abundance of organic material like fallen leaves, twigs, and dead plants. These are excellent additions to your compost pile.
Cooler Temperatures: Composting generates heat as organic matter breaks down. Fall's cooler temperatures can help regulate this heat, preventing your compost from getting too hot and smelly.
Preparation for Spring: By composting in the fall, you'll have nutrient-rich compost ready by springtime, just in time for planting season.
Now that we've established the benefits of fall composting, let's get started on setting up your backyard compost bin.
Selecting the right spot for your compost bin is crucial for its success. Here are some considerations:
Sunlight: Place your compost bin in a partially sunny area. It should receive at least a few hours of sunlight each day to aid in the decomposition process.
Accessibility: Ensure that it's easily accessible from your kitchen, as you'll be making frequent trips to add kitchen scraps.
Drainage: Opt for a location with good drainage to prevent your compost from becoming waterlogged.
There are several options for compost bins, including ready-made bins, tumblers, and DIY setups. Let's explore these choices:
Ready-Made Bins: These are convenient and come in various sizes and styles. Look for ones with good aeration and easy access to the compost.
Tumblers: Tumblers make turning your compost easier and faster, which can speed up the decomposition process.
DIY Bins: Building your own bin can be cost-effective and allows you to customize its size and design to suit your space and needs.
To create a balanced compost pile, you need a mixture of green and brown materials. Green materials include kitchen scraps like fruit and vegetable peels, coffee grounds, and grass clippings. Brown materials are dry, carbon-rich items such as leaves, straw, and cardboard.
Begin by laying down a layer of brown materials, followed by a layer of green materials. Continue this pattern, aiming for a roughly equal ratio of green to brown. Avoid adding meat, dairy, or pet waste, as these can attract pests and create odor problems.
Compost needs to stay consistently moist, similar to a wrung-out sponge. Water your compost pile as needed to maintain this level of moisture. To avoid overwatering, use a hose with a spray nozzle to provide even moisture distribution.
Aeration is equally important. Regularly turn or mix your compost pile to introduce oxygen, which aids in decomposition. This can be done with a pitchfork or by using a tumbler if you have one.
Composting is a process that takes time, so be patient. Over the weeks and months, your compost will transform into dark, crumbly, nutrient-rich soil amendment. Here's what to expect:
Temperature: Your compost pile will heat up initially as microorganisms break down the materials. This is normal and a sign that your compost is active.
Odor: A well-maintained compost pile should have an earthy, pleasant odor. Foul smells may indicate an issue with balance or aeration.
Texture: When your compost is ready, it will resemble rich, dark soil, with no visible food scraps or recognizable materials.
After several months, typically six to twelve, your compost will be ready for use in your garden. To harvest it, simply remove the finished compost from the bottom of the bin or pile. Use a garden fork or shovel to scoop out the nutrient-rich compost and spread it on your garden beds.
Setting up a backyard compost bin this fall is not only a sustainable way to reduce waste but also a fantastic way to improve your garden's soil health. By choosing the right location, selecting the appropriate bin or building your own, layering materials correctly, maintaining moisture and aeration, and being patient, you'll be well on your way to creating nutrient-rich compost for your garden. So, roll up your sleeves, embrace the fall season, and start composting – your garden and the environment will thank you!
Grow fresh herbs year-round with our easy indoor gardening guide. Start your green thumb journey!
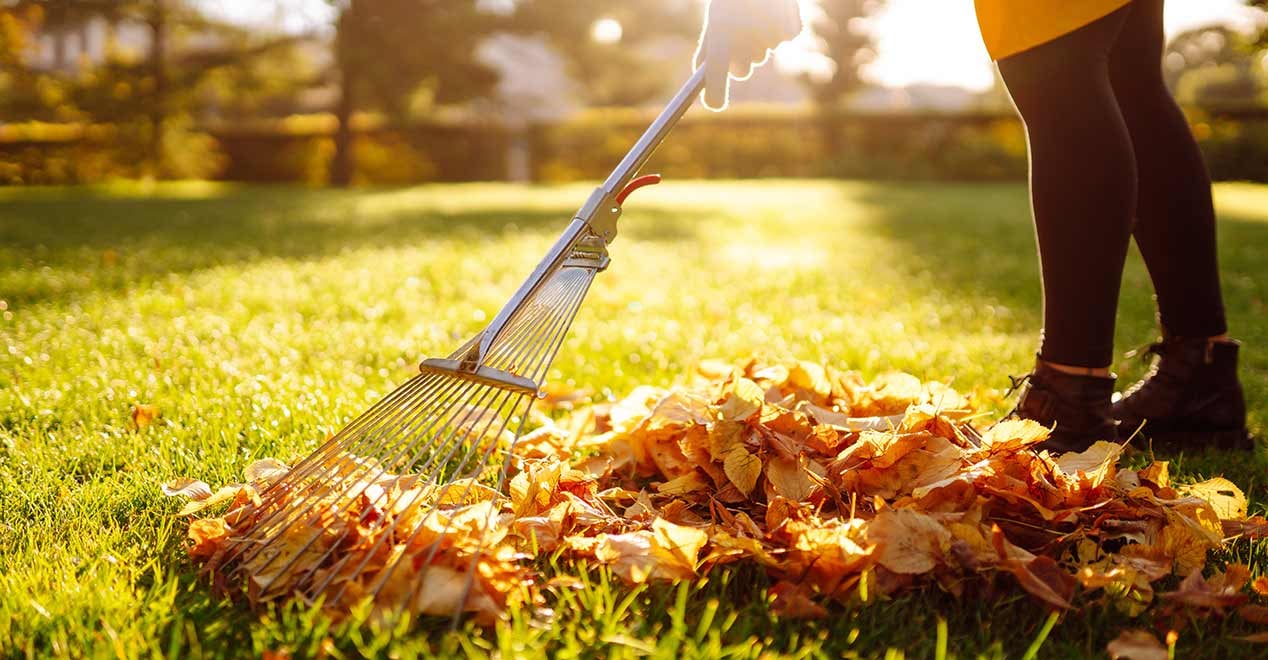
Discover expert fall lawn care tips for a vibrant, healthy yard this autumn. Boost curb appeal with our comprehensive guide.
Providing essential guidance on preparing your garden for severe summer storms and caring for it afterward. You’ll learn how to protect your garden.